Aggregates
Conditional Highlighting
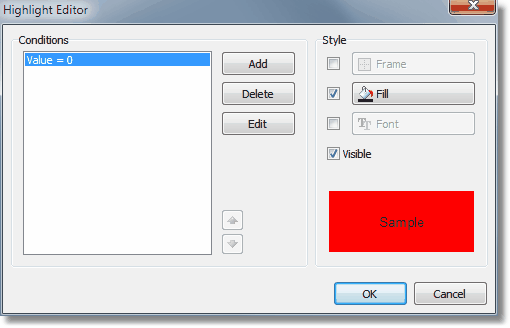
There is a possibility to change the "Text" object's appearance depending on the given conditions. For example, an object can be highlighted with red color if it has a negative value. This feature is called "conditional highlighting". To set up it, select the "Text" object and click the  button on the "Text" toolbar.You will see the following dialog window:

It is possible to define one or several conditions and set up the style for every condition. Style can contain one or several settings:
- frame
- fill
- font
- object's visibility
In order to create a new condition, click the "Add" button. You will see an expression editor. Here, it is possible to write any expression which returns a boolean result. In many cases you will use the "Value" variable, which contains the currently printing value.
You can indicate, which settings need to be changed when the condition is met. For this, check the needed setting using the checkbox.
Let us look at the following example: we have a "Text" object, in which we print the amount of products in stock:
[Products."UnitsInStock"]
We want to paint the object red, if the amount of products = 0. For this, we create the following condition:
Value = 0
In the given case, we used the "Value" variable, which has got a printed value. If there are several expressions in an object, then this variable will have the value of the last expression. Instead of "Value", you can use a data column:
<Products."UnitsInStock"> = 0
Configure the style for the given condition in such a way that only fill can be used, and choose the red color:
When printing an object which has a zero value, it will be red. Let us make our example more complex, we will add another condition. If the units in stock is less than 10, it must be printed yellow. To do this, open the condition editor and click the "Add" button. The second condition will be like this:
Value < 10
In case where several conditions have been indicated, FastReport checks all the conditions, starting from the first one. If a certain condition is met, FastReport applies its style settings to the object, and the process stops. It is important to put the conditions in a correct order. The order which we have seen in this example is correct:
1. Value = 0
2. Value < 10
If we swap conditions, then the highlighting will work wrongly.
1. Value < 10
2. Value = 0
In the given case, the "Value = 0" will not be executed, because when the value is zero, then the first condition will be met. In order to change the order of the conditions, use the  and
and  buttons.
Coloring Alternate Data Rows
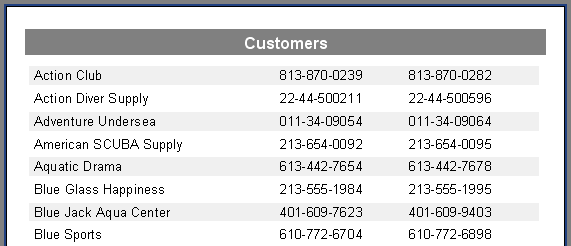
Using conditional highlighting, it is easy to create reports having a "banded" look, where data lines are alternately colored. To save some effort, let's use the “Customer List” example that we designed previously.
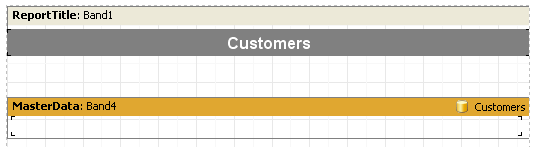
Remove all the “Text” objects from the “MasterData” band. Place a “Text” object on the data band and stretch it to cover almost all of the band space:
This object will change its color dependent on the data line number. Select the object and set the following conditional expression in the Highlight tab of the object editor:
<Line> mod 2 = 1
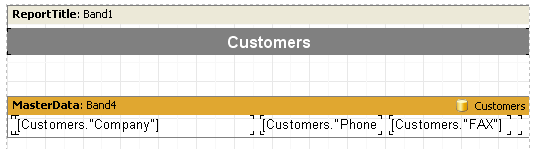
Select a gray as the color for highlighting, not too saturated a color, but closer to white. Now the other objects can be added to the data-band on top of the first empty “Text” object:
On preview the report produces this output: